Starting with Raspberry Pi
Requirements
- Basic knowledge of Linux (It’s possible to connect via windows but this tutorial assumes you’re working in a Linux environment)
- Compatible Raspberry Pi Model (Most will work. This was tested with the Pi Zero, Pi Zero W, and the Pi 3)
- MicroSD Card and method to program it
- Cables/Power Supply for your Pi (USB for the Zero, Power Cable for all other models)
Starting Out
This tutorial assumes you are working on a Linux machine. I highly encourage you dual-boot your machine if you ever intend to do any serious work in electronics. You’ll find that you pretty much need to have both Windows and Linux if you want to take advantage of all the modern tools. If you’re new I reccomend just going with Ubuntu.
The Raspberry Pi that you purchased will be running Raspbian. This is a stripped down version of the Debian Linux distrobution(Ubuntu is based upon Debian as well). There are two versions of Raspian, Raspian Desktop, and Raspian Lite.
- Raspian Desktop - Full Desktop Environment capable of running a monitor and doing things like browse the web and playing video.
- Raspian Lite - Terminal only distrobution that doesn’t have bloat. This runs significantly faster and if you don’t need a monitor, this is what your system should use.
Installing Raspian
There is a very simple tool for installing the Raspian image onto the SD card. Do the following command in your Linux terminal to install the package
sudo snap install rpi-imager --devmode

# When that is done installing do the following command to launch the gui
sudo rpi-imager
Ensure that you’re SD card is connected to your machine and go through the setup for your image.
Chose OS -> Raspberry Pi OS(Other) -> Raspberry Pi OS (Lite)
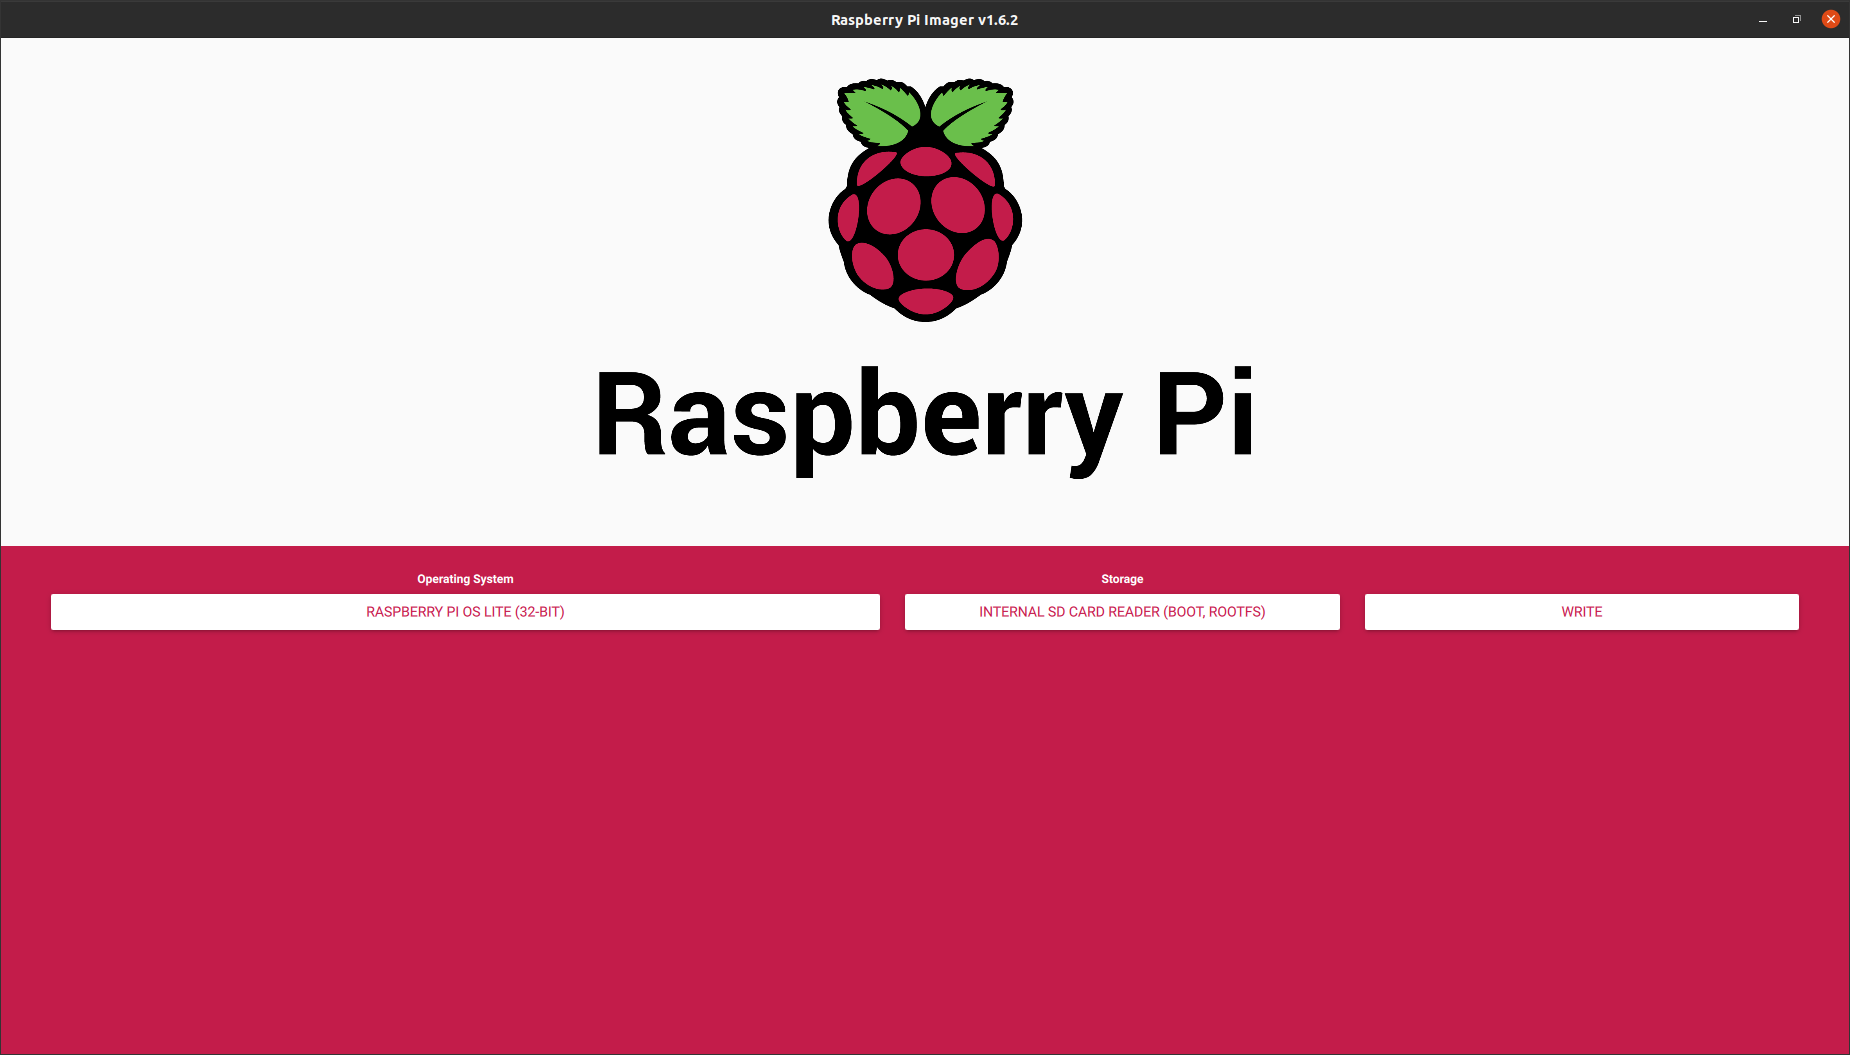 If you would like to install the full desktop suite opt for Raspberry Pi OS Full, but that is not the point of this tutorial. After your SD card is installed fully remove it and reinsert it into your computer. Two partitions should now appear in your system, Boot and RootFS. For our purposes we will only be touching the Boot partition.
Configuring the OS
All Pi’s will need the following steps to set them up.
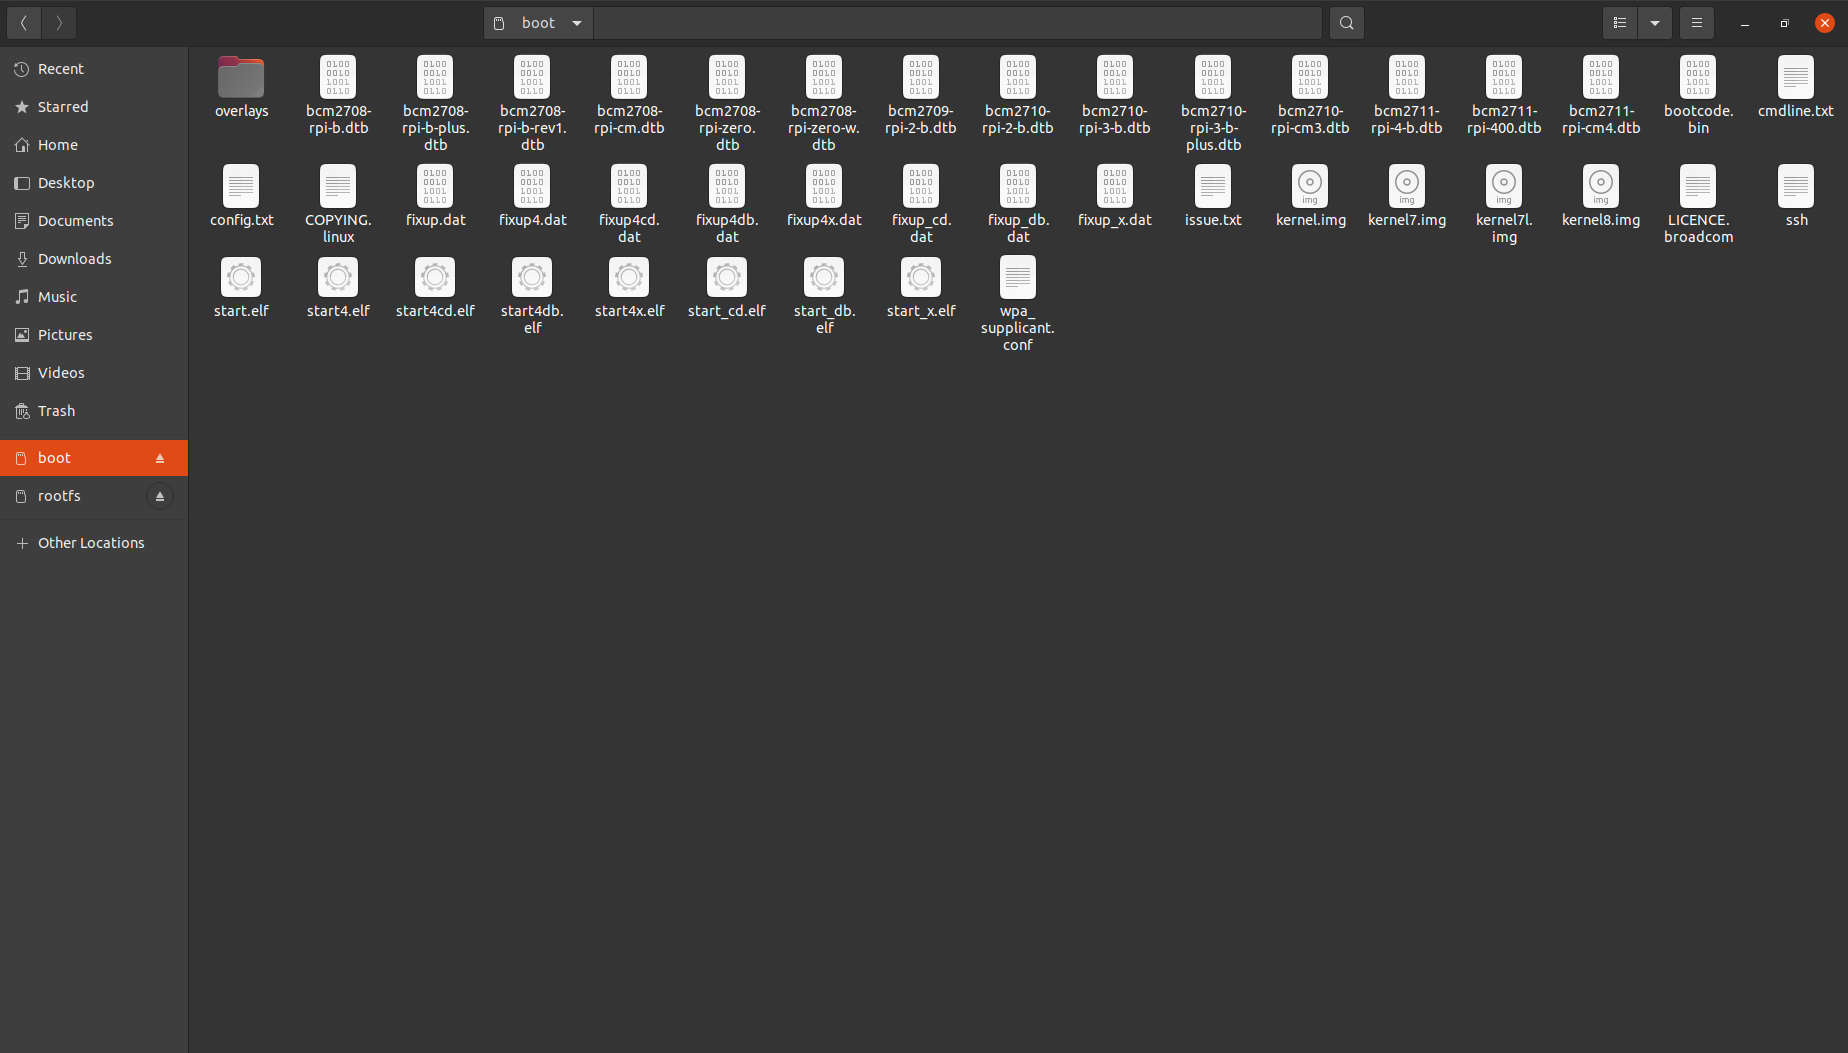
cd PATHTOBOOT/Boot

#This file enables ssh on the system
touch ssh
After that we need to do some configuration if your Pi has Wi-Fi. The only Pi I know that does not have Wi-Fi is the Pi Zero.
You’ll need to create the following file within the Boot partition and name it wpa_supplicant.conf
ctrl_interface=DIR=/var/run/wpa_supplicant GROUP=netdev
update_config=1
country=US

network={
    ssid="YOURSSID"
    psk="YOURPASSWORD"
}
Wherein the ssid is the name of your Wi-Fi network, and psk is your password. The Quotes remain around the string. For me personally I had to add the following line due to how my Wi-Fi network handles its keys.
network={
    ssid="YOURSSID"
    psk="YOURPASSWORD"
    key_mgmt=WPA-PSK
}
TODO add the info for the Pi Zero with no Wi-Fi
Connecting to Your Pi
Now that your pi is fully configured we’re going to connect to it via SSH. SSH is a method of logging into a different computer remotely. It’s extremely useful, and you’ll use it when logging into other computers on your network, or even when logging into remote servers that you may be using.
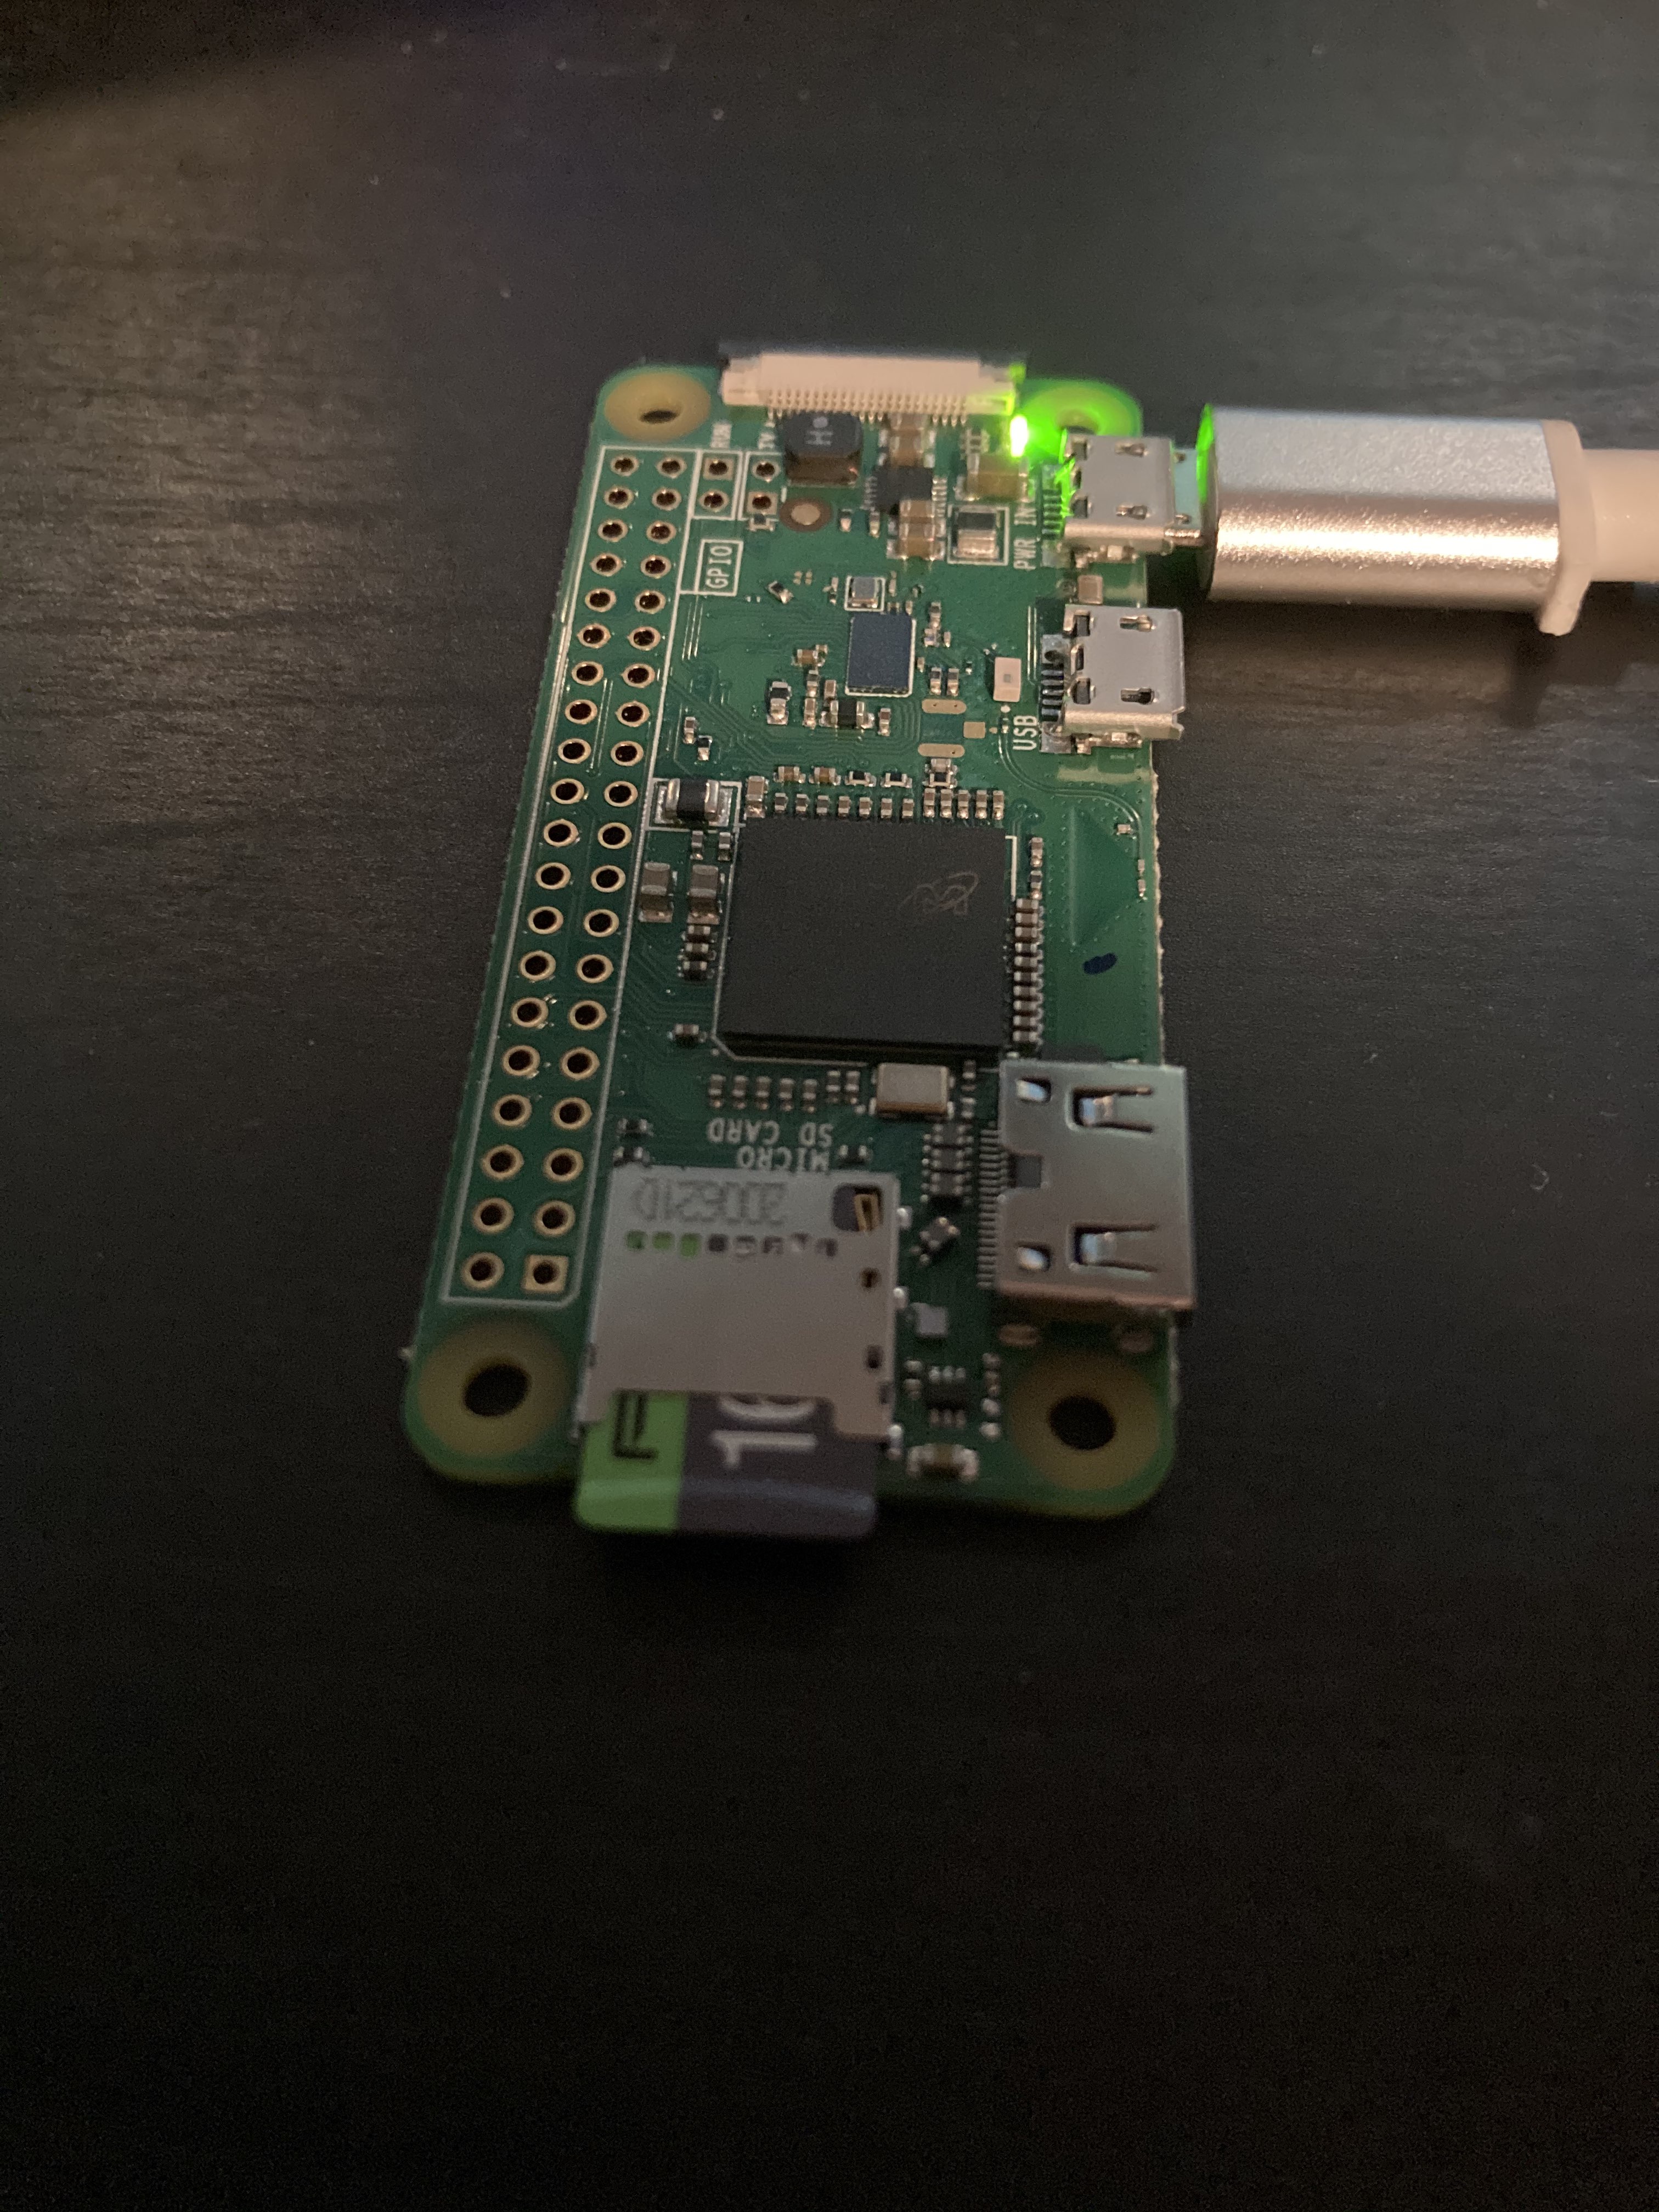
This assumes you’re on the same Wi-Fi network as your Pi, or in the case of the Pi Zero (without Wi-Fi) that you’re connected to your computer via the USB Data Port.
The Pi will take a minute or two to boot up and be accessible so after plugging it in give it a bit.
# If this shows that it is successfully receiving packets move forward with the next command
ping raspberrypi.local
# This should allow you to login if you could ping successfully
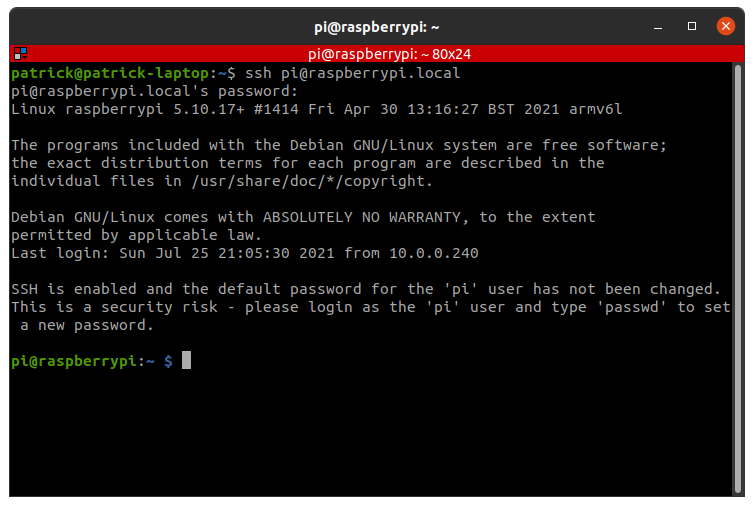
ssh pi@raspberrypi.local
# The password by default is raspberry
If this works successfully then you’ve successfully logged into your pi :)
If this does not work we’re going to have to look for the IP ourselves. We’re going to need a tool called nmap.
sudo apt install nmap

#This gets your IP address
hostname -I
#Take the IP address that was outputted in the start by that and paste it in the place of the IP in
#the following command
sudo nmap -sn 192.168.0.0/24
#sudo is required to see the manufacturer of each device on your network
Nmap will have a long list of devices on your network, and you should see one that has the Raspberry Pi Foundation as its creator. Take that IP address and run the following command.
#Replace the IP address here with the IP you found for your Pi
ssh pi@192.168.0.13
#The default password is raspberry
After Logging In
Now that you’re in lets configure a few things. Run the following command on your shell that is now logged into the pi.
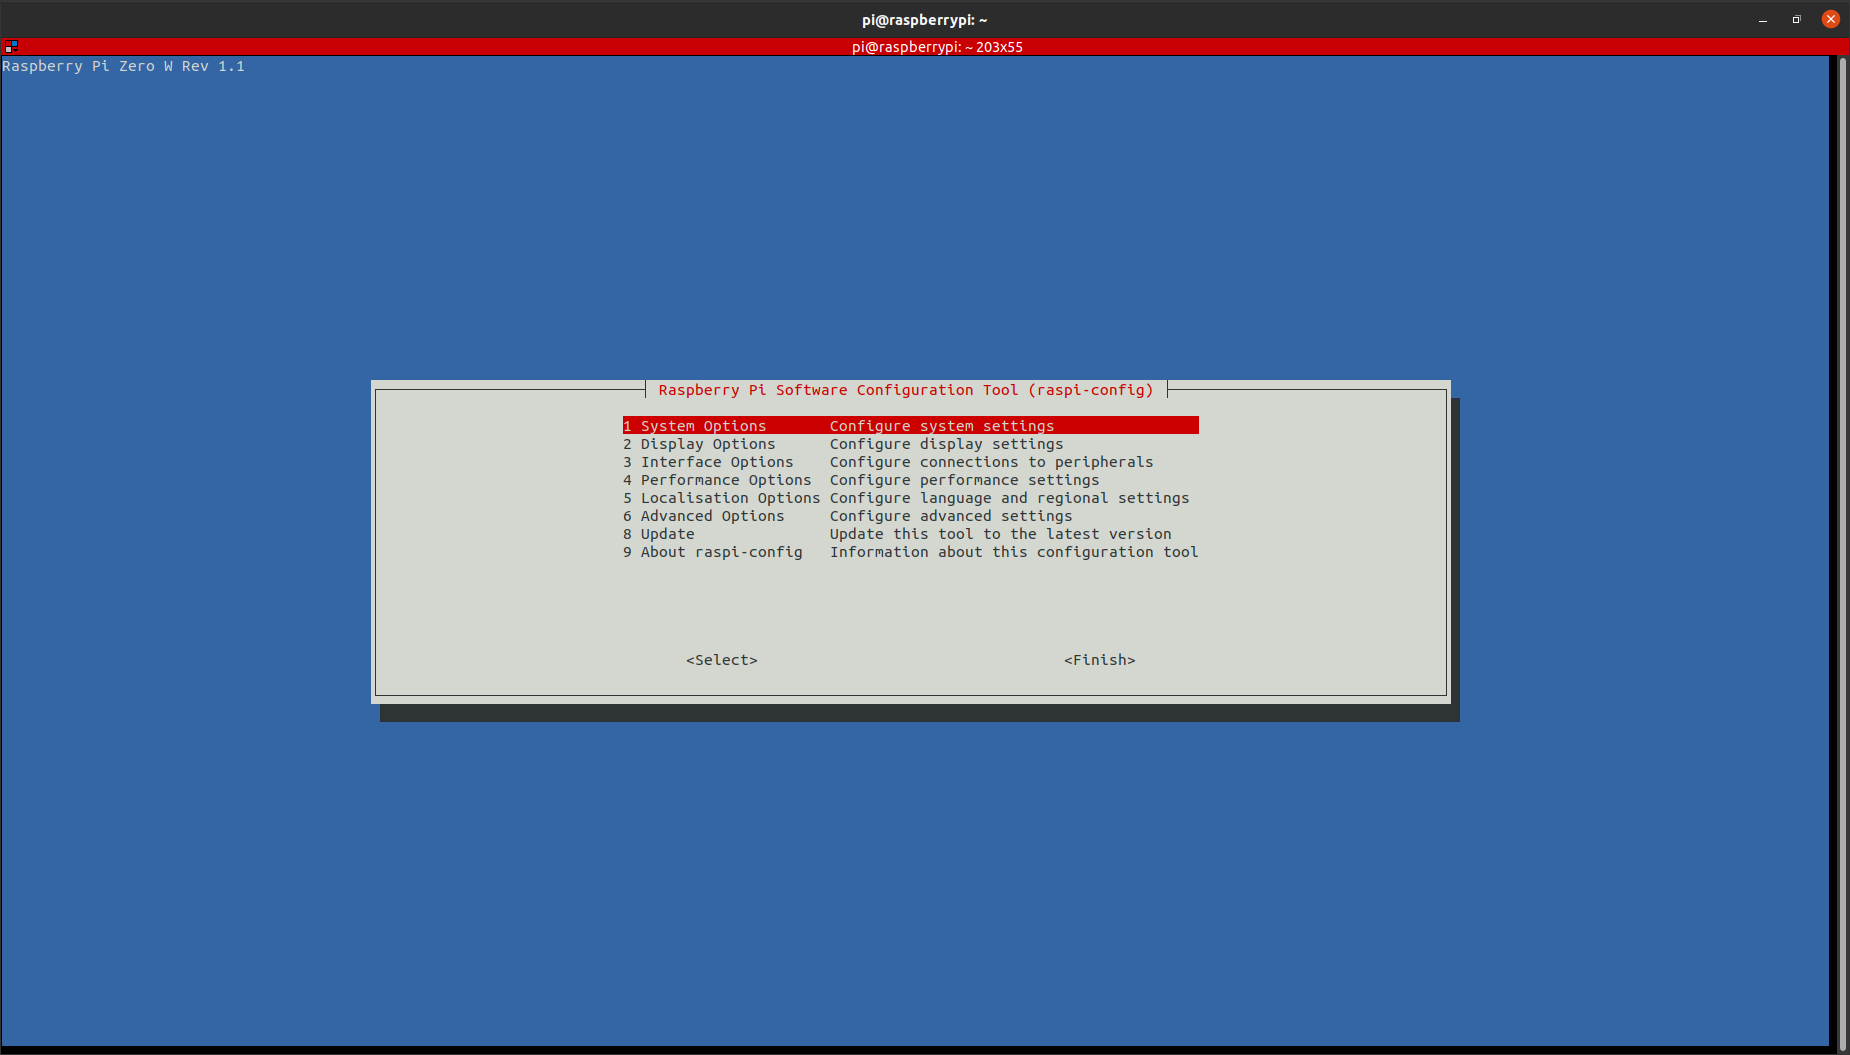
# This will open up an ncurses GUI to configure the Pi
sudo raspi-config
Inside the GUI we’re going to make a few changes
- System Options -> Password -> Configure a new password for the pi user
- System Options -> Hostname -> Configure a new hostname for your pi (this was previously raspberrypi)
- Localisation Options -> Customize all of these, so they suit your locale and keyboard type
Now that you set up the new hostname and password your next ssh session will require you to do
ssh pi@newhostname
#Password is whatever you set it to
Conclussion
With all of that wrapped up and the configuration complete we’re all done :)
Congrats on setting up your Pi to work headless!
There’s one final tip I’ll leave you with, you should shutdown your Pi using the terminal rather than just unplugging it. This helps to prevent data corruption.
#This command will shut down the pi
sudo shutdown now