
Note: This tutorial is meant for Computers that run Windows. If you are using a Mac, first off I recommend you don’t their hardware is overpriced and horrible and their OS is worse than Windows. Secondly, this guide will not help you.
The first step in installing Linux onto your machine is determining which distribution you want to use. Think of Operating Systems as makes of car, and distributions as specific models of car. Windows is an operating system, but there are multiple versions(XP, Vista, 7, We don’t talk about 8, 10).
Linux is the overarching operating system, but under that operating system you can choose your flavor. Sites like distrowatch will show you every new and trending distro, and it will have comparisons and news about each.
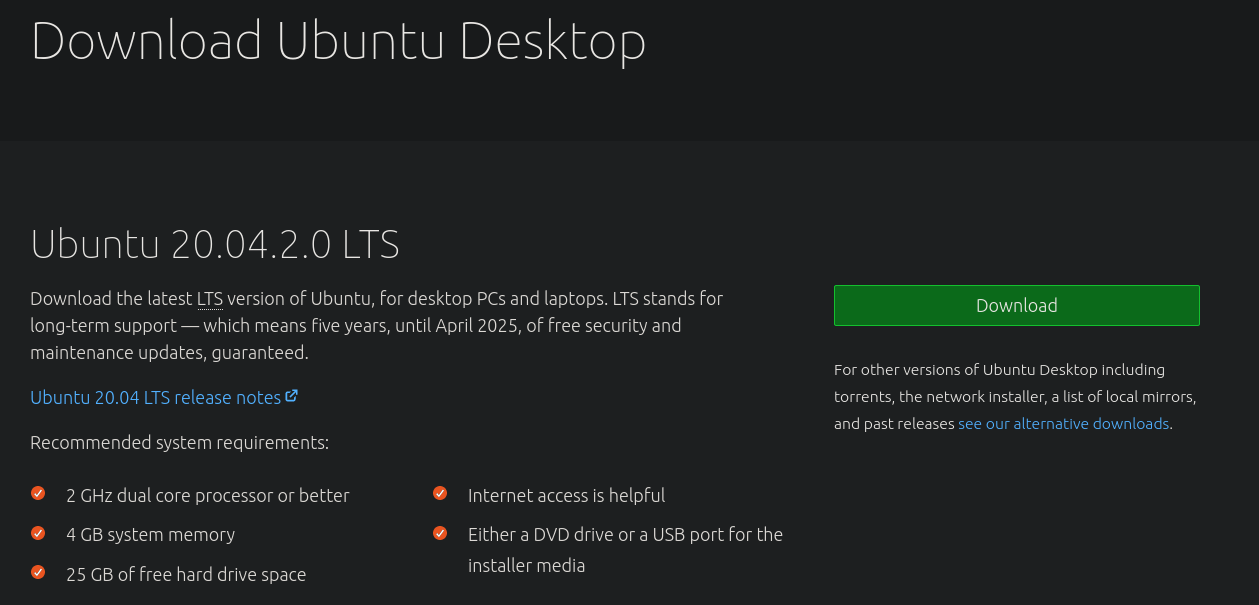
For our sake, we’ll be using Ubuntu 20.04 LTS. This is the most recent release of Ubuntu, on of the primary Linux distributions out there. 99% software that runs on linux will run successfully on Ubuntu.
Let’s get our boot USB created. We’re going to need to donwload the Ubuntu 20.04 Desktop ISO file from that page.
Next up we’re going to need to download a tool called Rufus (aka the real hero of the Kim Possible series)
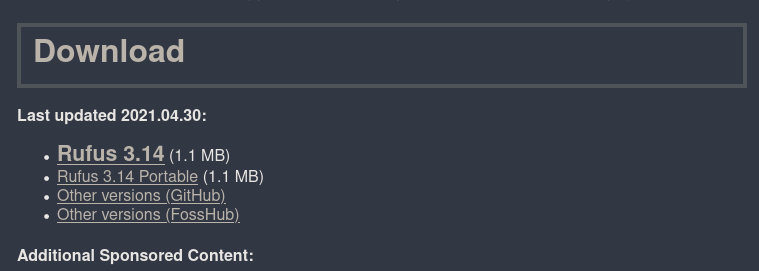 Download from the first link shown in the image
Next up we’re going to need Rufus to burn an ISO onto the flash drive that we’ll be using to install Linux on our computer. Make sure you have atleast a 4 GB flashdrive.
Again, everything on the flash drive will be deleted, so be careful if you have important files!
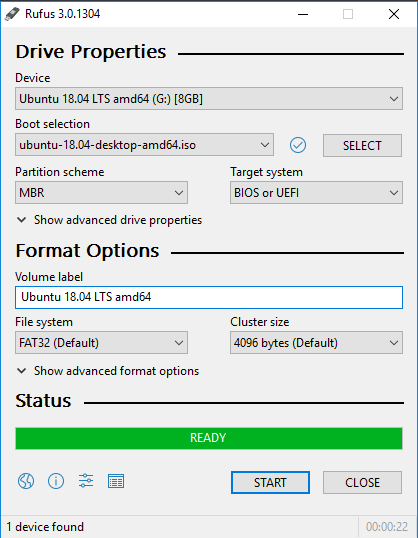 Select your USB stick in the device panel. You can follow the setup shown in the above screenshot, except rather than select 18.04 select the Ubuntu 20.04 ISO you just downloaded. Once you’ve selected Ubuntu 20.04 LTS go ahead and hit start.
Once Rufus is done we’re all set to install to our computer using the flash drive :)
Next up we’re going to have to configure our computers BIOS to boot from the USB drive rather than our current operating system that is installed on our hard drive. You access your BIOS when your computer first boots up before your operating system kicks in.
Unfortunately the button to enter BIOS depends on which manufacturer created your motherboard. For me personally I repeatedly press the F2 key as my computer powers on. You’re going to have to search for yourself to see what the key to access your BIOS is.
Once you’re in your BIOS menu, you’ll need to navigate to the boot order tab. Once in the boot order tab adjust it such that the first thing that boots is your Ubuntu 20.04 flash drive that you created.
After you do this, save the bios configuration and continue. Your system should boot into the live image contained within the USB drive. It will look something like this
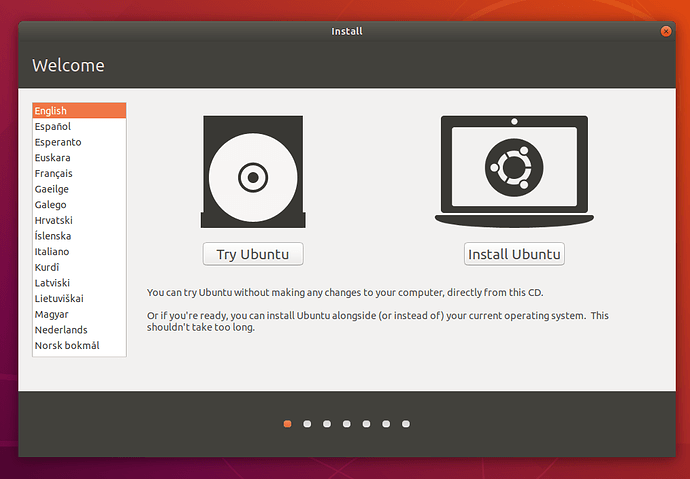 You can try the operating system without installing by clicking try. If you try it, you can chose to install from the desktop after. Once you’re ready to install move through the options.
Once you reach the page asking about updates and other options shown here
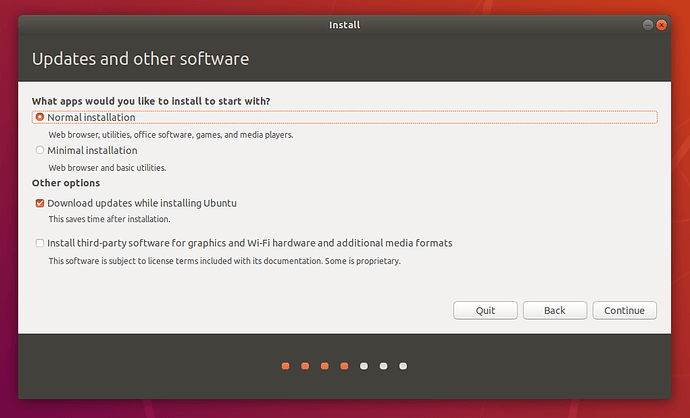 I Strongly recommend you do a normal installation, but if you are strapped for hard drive space you can do a minimal install. I’ve had issues with downloading updates while installing Ubuntu before so I actually recommend not doing this(We can upgrade later).
The box that asks if you would like to install third party software needs to be checked off. This will ensure that things like graphic cards and Wi-Fi chips work properly. Make sure to check this off.
In the next stage we’re going to choose our installation type. You’ll see a screen like this
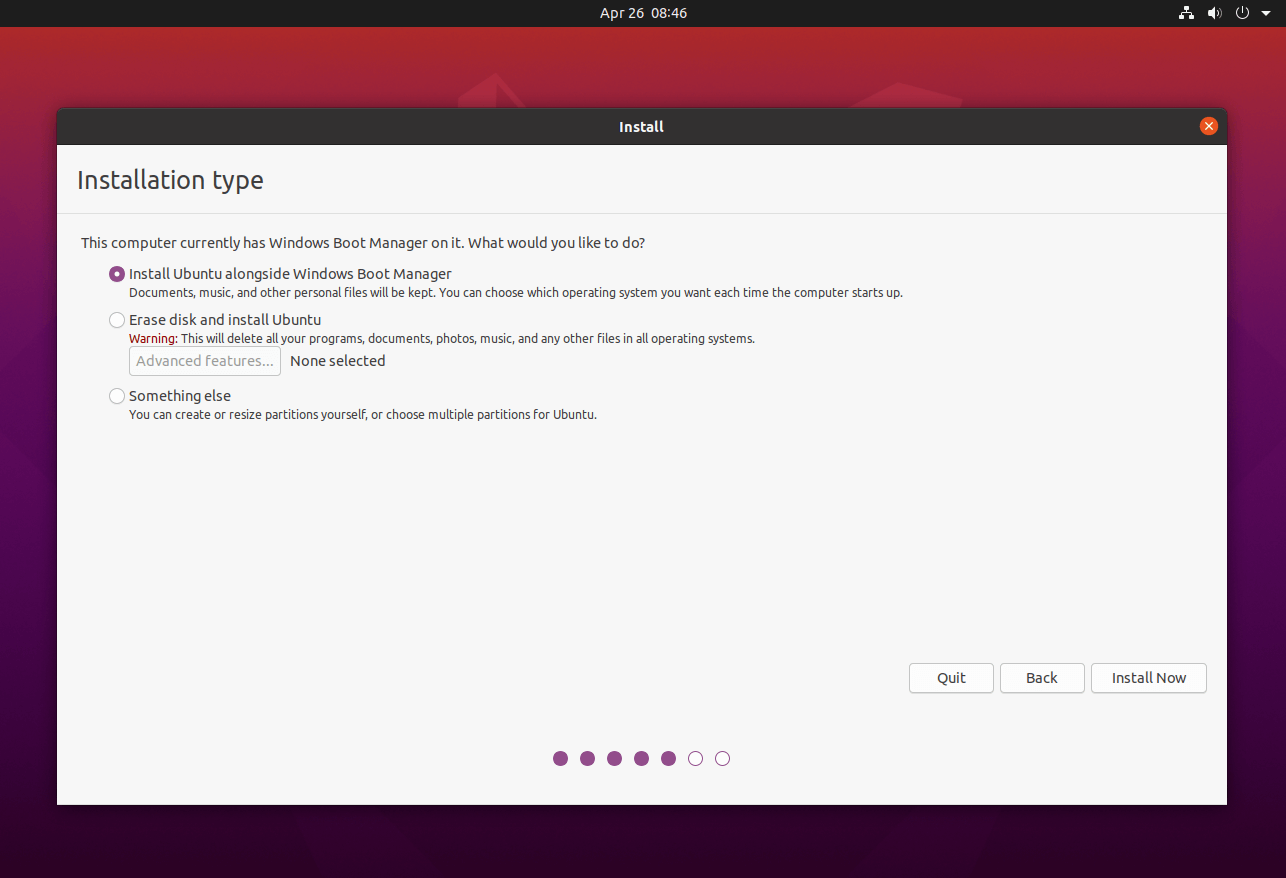 If you have Windows on your machine, there will be an option to install Ubuntu alongside Windows.
Install Ubuntu alongside Windows
Select install alongside Windows. This will automatically partition your hard drive so that both operating systems can exist alongside one another. If you select one of the other options you will likely break your Windows install (unless you know what you’re doing).
On the next page you will have a menu where you can drag the divider to determine how much of your hard drive space you will give to Ubuntu.
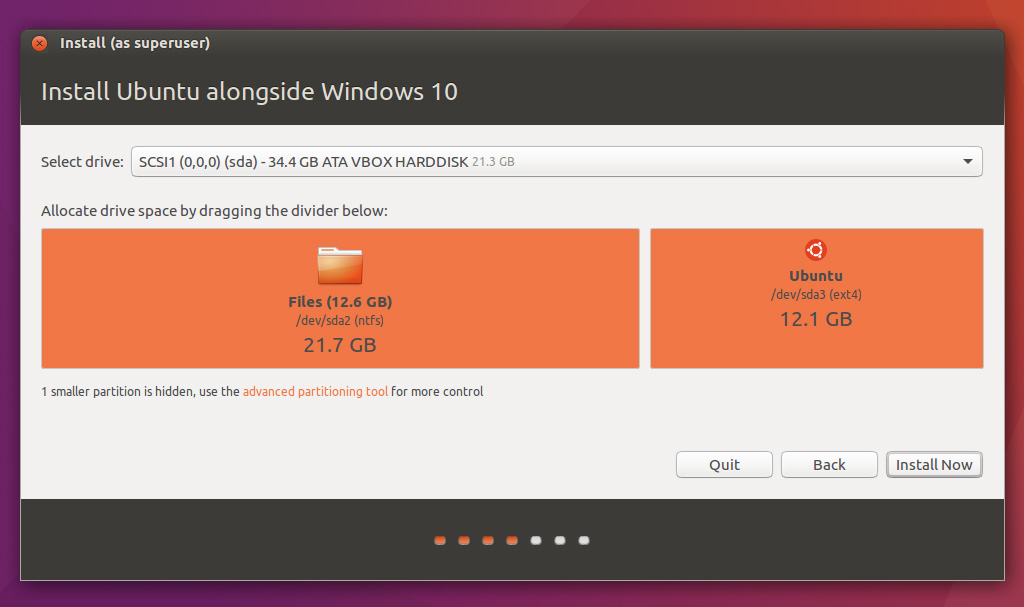 Technically 10 GB is enough, I reccomend you use atleast 25 GB if you have the space, and in all honesty I would recommend 250 GB if you never want to worry about this again. As long as your hard drive has the space I recommend making a fairly large install partition.
If you intend to develop for Xilinx FPGAs on your Linux machine you’ll need a huge amount of storage space for their IDE. I’m talking nearly 70 GB for that alone. You can thank Xilinx for making horrible software that is as bloated as that.
Once you’ve determined a size that works for you, and does not interfere with the storage space you need for your Windows drive go ahead and click install now
As long as the size you opted for work for you go ahead and hit continue once it asks if you would like to write changes to the disk. You’ve officially installed Linux :)
I’m going to be honest, I don’t have the time to write an entire Linux tutorial for you. I do have time to point you to the best one I know of.
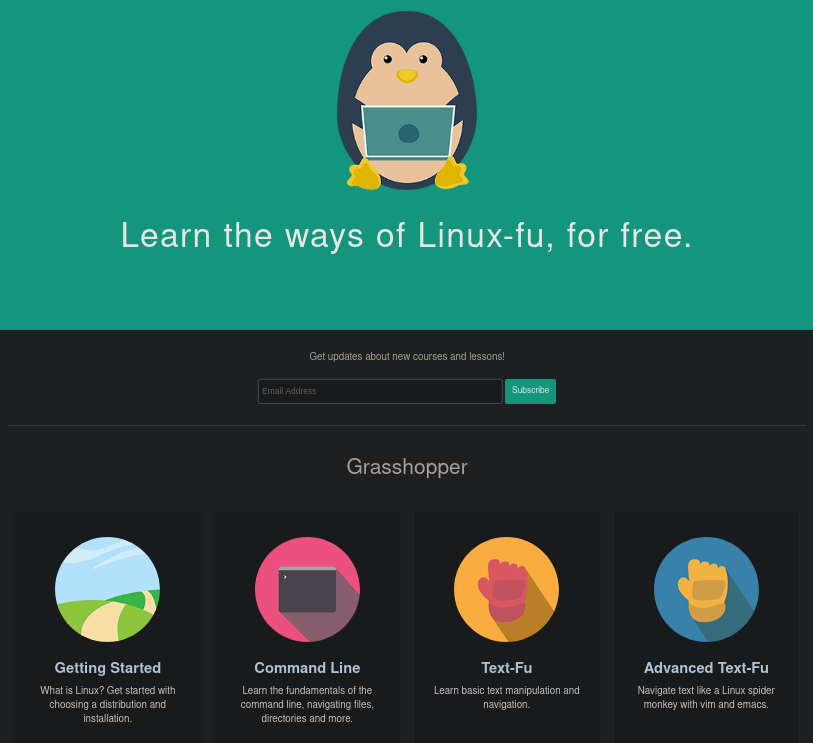
This site is a great guide to getting started with Linux. I highly recommend you do the entire command line section, text-fu section, and if you want to be able to argue with every other Linux user if Vim or Emacs is better, then I suggest you pick on of them to learn in the advanced text-fu section.
I also highly recommend you check out the lesson on Packages. Ubuntu uses apt, and I recommend you do some reading on tar, gzip, and compiling from source in that chapter as well.
Once you’ve got those down you should be all set to use Linux. There’s a lot more to learn along the way, but you’re off to a great start :)
Here are some simple things I want you to know about
How to Update System
sudo apt update
sudo apt upgrade
How to see your IP Address
#This shows the long version
ifconfig

#This shows the short version
hostname -I
Terminator is a shell that allows you to open multiple within the same program. These shell sessions will share the variables that the initial shell had upon initialization
sudo apt install terminator
How to shorten commands
#Bind some long command to a shorter command
alias lol="echo print out a long statement that says all this just by typing lol into a shell"
Dot files are hidden files in your system. You can see them by doing
ls -a

#You can edit them just the same as any other file
vim .bashrc
Your bashrc is a shell script that is executed once your terminal is first opened. I often add alias links to the bottom of it like the example shown earlier, so I can work efficiently
#~ is the symbol for your home directory in linux. This is the directory your shells initially open to
vim ~/.bashrc
#Just add anything you want to happen in all shell sessions such as aliases, etc. to end of the file
SSH is a command use to connect to remote Unix based machines
#Use this to work on a machine besides your own
ssh username@ip_adress
Man is a command used to read the manual of another command
#Read the manual for the program that gives you manuals
man man
#Read the manual for ssh
man ssh